Computer Graphics
For as long as I can remember, I have always been passionate about 3D games and the technology behind them. I started the Vortex 3D Engine back in 2010 as a framework I could use to prototype realtime rendering techniques.
Over the years I have worked on it and off in my free time (mostly weekends) and it has become a robust foundation for building 3D tech and techniques. Sporting nowadays a Visual Editor, Lua scripting and a cross-platform runtime, Vortex V3 aims to be a complete solution for exploring ideas and creativity in the field of realtime graphics.
Some of the most prominent features of Vortex Engine include:
- Flexible Core developed entirely in modern C++.
- Object-oriented where it makes sense, with a flexible Entity-Component-system architecture.
- 3D Editor that allows visually creating rich playgrounds (learn more).
- Lua-based scripting for fast prototyping (learn more).
- Portable. Works on Windows, Linux, Mac and iPhone.
- Minimal external dependencies.
- Automatic resource life-cycle management through reference counting.
- Modern OpenGL 3.3/ES 3.0 and Metal rendering paths.
This page gathers some notes on the development of the Vortex 3D Engine and its features, as well as on other musings on computer graphics. For a more complete reference please visit the Vortex-Engine category.
These posts, just as the rest of the site, are licensed under a Creative Commons Attribution-ShareAlike 3.0 Unported License.
Table of Contents
- Deferred Rendering
- Multi-Render Targets
- Bump Mapping
- Light Scattering
- Render-to-Texture
- Realtime Shadows
- Geometry Post-Processing
- Multi-pipeline Support for Rendering
- Engine Resource Management
- Using your own Tools
- WebGL for OpenGL ES Programmers
- Writing a Mac OS X Screensaver
Deferred Rendering
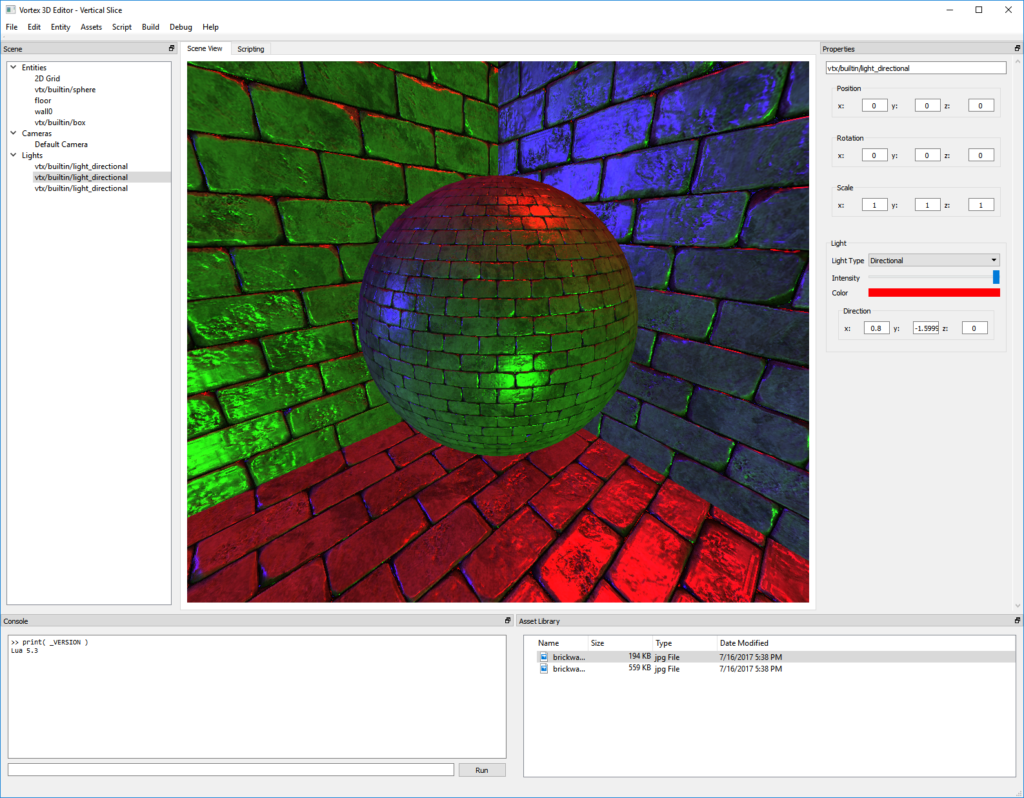
Vortex V3 introduced a modern deferred renderer that replaces the old fixed-pipeline and GLES2 renderers. Deferred rendering is a complex rendering topic, it is therefore covered in several posts.
- G-Buffer
- Light Pass (Part I)
- Light Pass (Part II – Normals)
- Multiple Realtime Directional Lights
- Deferred Realtime Point Lights
The G-Buffer pass consists in the first half of any deferred shading algorithm. The idea is that, instead of drawing shaded pixels directly on the screen, we will store geometric information for all our opaque objects in a “Geometry Buffer” (G-Buffer for short).
Every feature we had been incorporating into the Engine so far was building up to this moment and so, this time around, I finished writing all the components necessary to allow rendering geometry to the G-Buffer and then doing a simple light pass.
The G-Buffer has to be extended to include a third render target: a normal texture. Here is where we store interpolated normal data calculated during the Geometry pass. We also extend the Light pass shader to take in the normal texture, sample the per-fragment world-space normal, and use it in its light calculation.
Lights have different directions and colors now and the final image is a composition of all the color contributions coming from each light.
Point lights in a deferred renderer a bit more complicated to implement than directional lights. For directional lights, we can usually get away with drawing a fullscreen quad to calculate the light contribution to the scene. With point lights, we need to render a light volume for each light, calculating the light contribution for the intersecting meshes.
Multi-Render Targets
- Multi-Render Targets
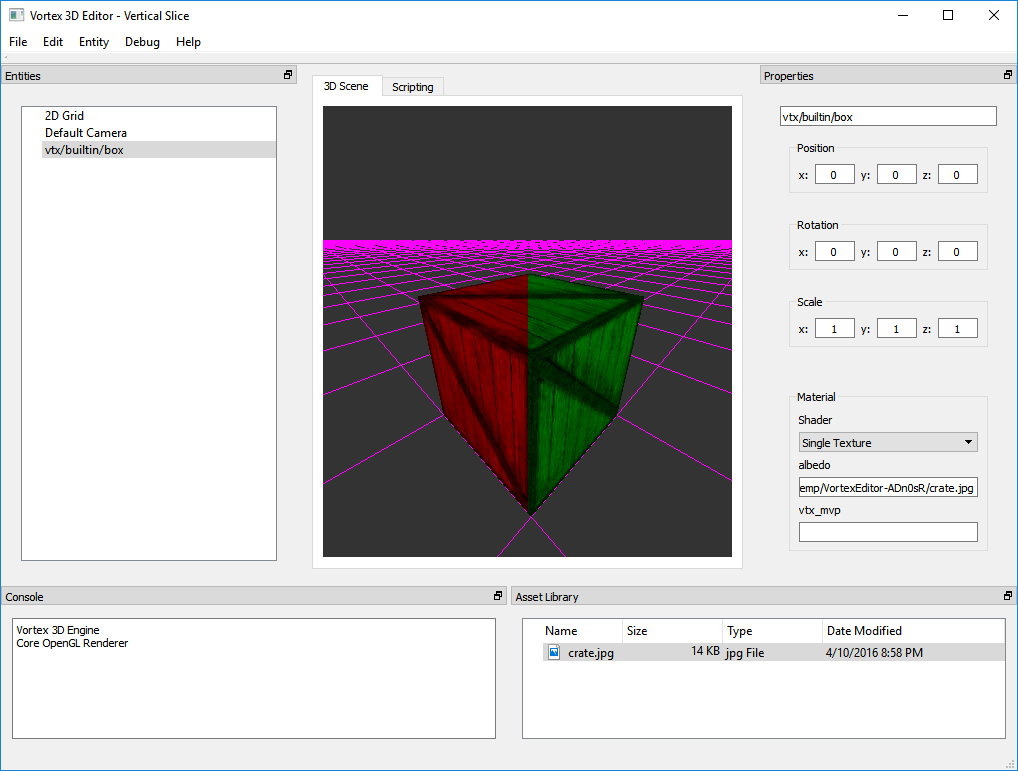
Usually abbreviated MRT, Multi-Render Targets allow our shaders’ output to be written to more than one texture in a single render pass. MRT is the foundation of every modern renderer, as it allows building complex visuals without requiring several passes over the scene.
Bump Mapping
In my last post, I started discussing Bump Mapping and showed a mechanism through which we can generate a normal map from any diffuse texture. At the time, I signed off by mentioning next time I would show you how to apply a bump map on a trivial surface. This is what we are going to do today.
Bump mapping is a texture-based technique that allows improving the lighting model of a 3D renderer. Much has been written about this technique, as it’s widely used in lots of popular games. The basic idea is to perturb normals used for lighting at the per-pixel level, in order to provide additional shading cues to the eye.
Light Scattering
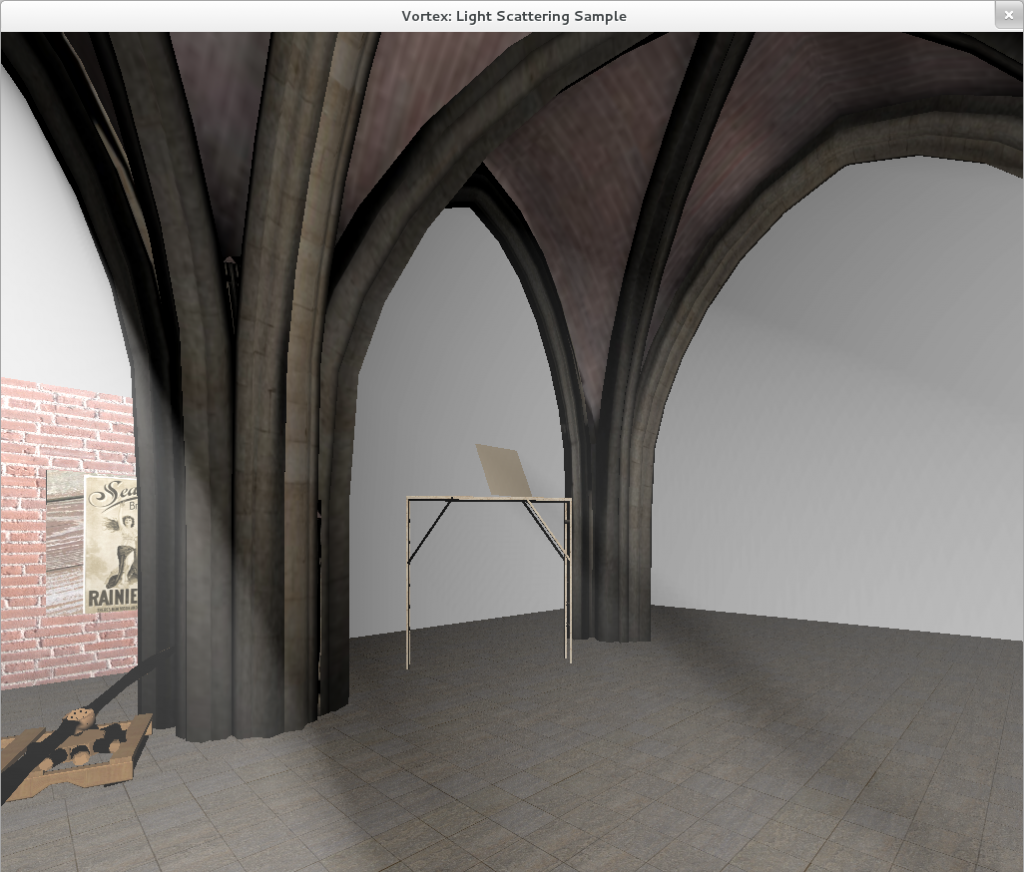
Light Scattering (also known as “God Rays”) is a prime example of what can be achieved with Shaders and Render-to-Texture capabilities. In the following image, a room consisting of an art gallery with tall pillars is depicted. We want to convey the effect of sun light coming from outside, illuminating the inner nave.
Render-to-Texture
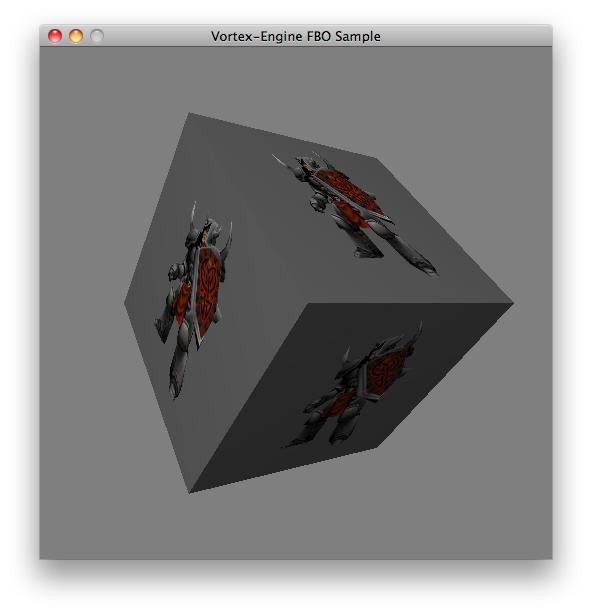
Vortex 3D Engine supports render-to-texture capabilities by means of Framebuffer Objects.
Realtime Shadows
Vortex 3D Engine supports both Stencil Shadow Volumes and Shadow Mapping.
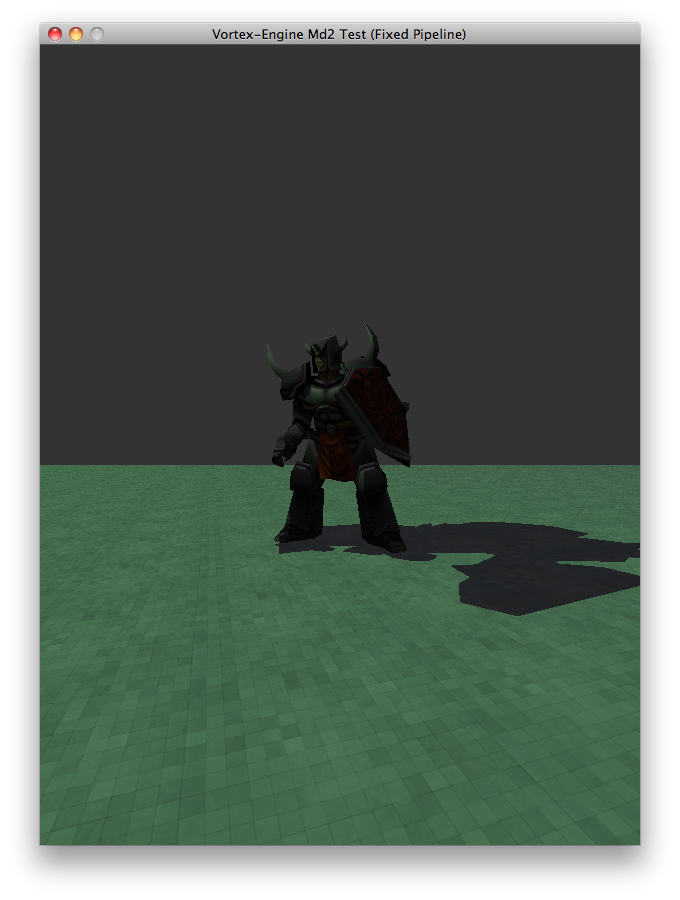
Shadows are a very interesting feature to implement in an renderer, as they provide important visual cues that help depict the relationship between objects in a scene. Notice in the following image how the shadow tells our brains that the Knight is standing on the floor (as opposed to hovering over it).
Shadow mapping is a technique originally proposed in a paper called “Casting Curved Shadows on Curved Surfaces”, and it brought a whole new approach to implementing realtime shadows in 3D Apps.
Geometry Post-Processing
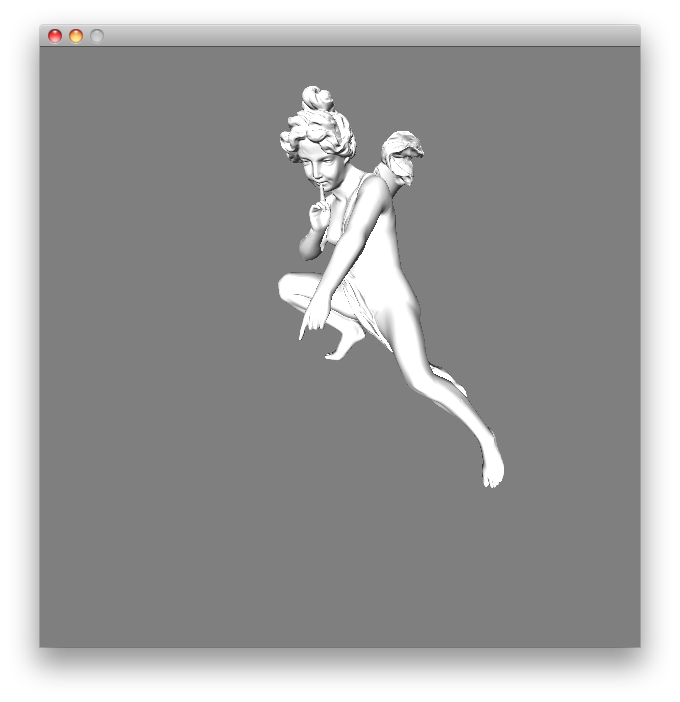
Sometimes the 3D models we have to display provide no information other than vertex data for the triangles they define. To help solve this problem, Vortex now provides a simple Normal generation algorithm that “deduces” smooth per-vertex normals from the geometric configuration of the 3D model. The results are nothing short of astonishing.
Multi-pipeline Support for Rendering
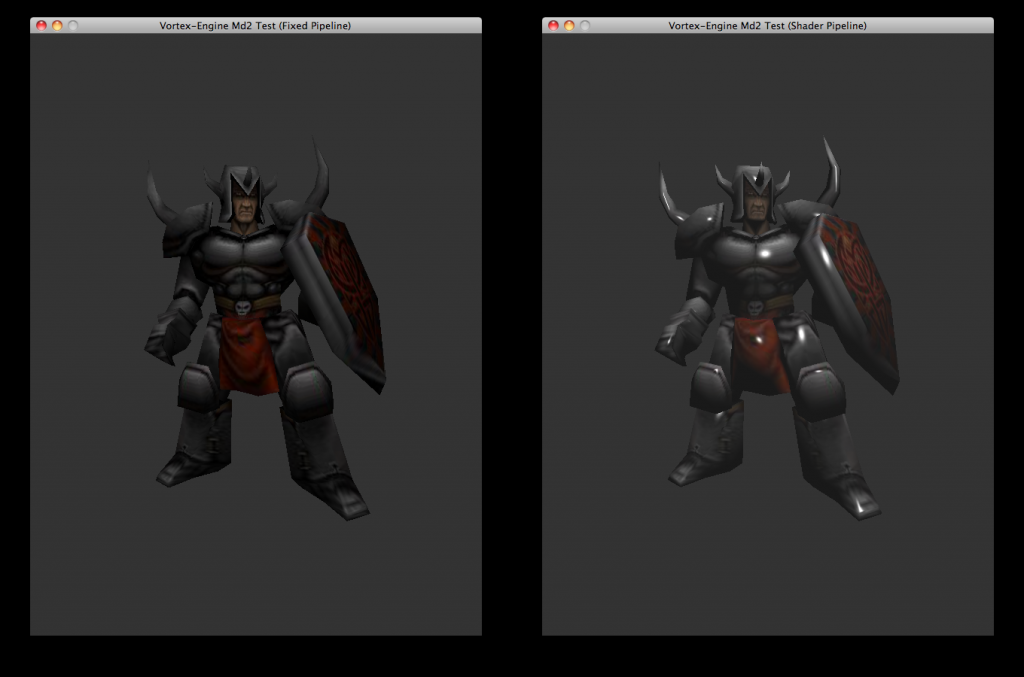
Supporting several rendering pipelines enables the developer to use the most appropriate rendering pathway for the target device’s capabilities. Newer video cards for Desktop computers and the latest mobile devices can be programmed for though the programmable pipeline, whereas older devices (such as the original iPhone and the iPhone 3G) can still be supported through the fixed pipeline.
Engine Resource Management
Now that we have advanced support for a dual rendering pipeline in Vortex, we are now shifting our attention into a completely different topic. This time we are looking into overhauling the engine’s inner resource management.
One of the great features of C++ is that the language is super-extensible. You can literally change the way many things work in C++ and, it turns out that after some research and experimentation (and a little C++ magic too), we found a way to implement C# covariance/contravariance for our custom smart pointers.
Using your own Tools
Someone once said there is no building the engine without building a game. There is nothing like actually using your own tools in order to pinpoint the weak spots of the Engine.
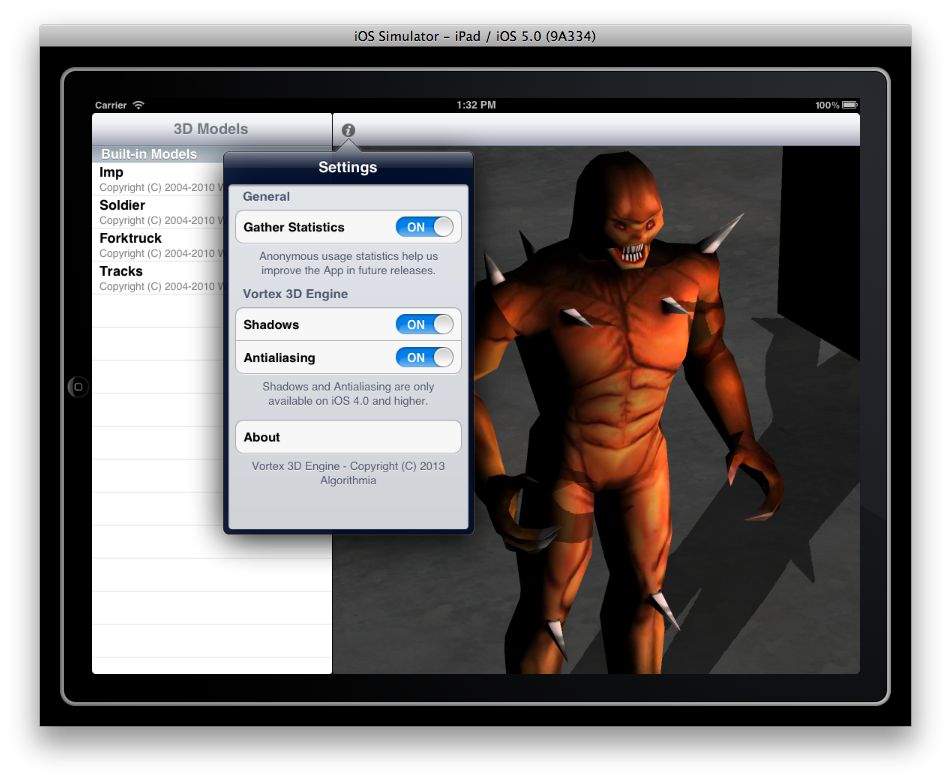
MD2 Library 2.0 has been out for a while now (download here), but I haven’t had the time to update this blog! It’s a free download for all iPad users, and, at the time of writing, all iOS versions are supported. The App has been revamped to use the latest version of my custom 3D Renderer: Vortex 3D Engine, bringing new features to the table.
One of the roughest edges in Vortex was Md2 model animation support. Until last week, integrating animated models into a Scene Graph was unnecessarily complicated. Fortunately, this is no longer the case. Adding an animated Md2 model to a Scene Graph is now as easy as adding any other node type.
Md2 models in Vortex can now be “instanced” from the same data at the Engine level (not to be confused with GPU instancing) and different animations can be assigned to each model. The idea for the short-term is to be able to provide entities the ability to create a Md2 model instance and animate it however they like without causing conflicts with other entities that instantiate the same model.
WebGL for OpenGL ES Programmers
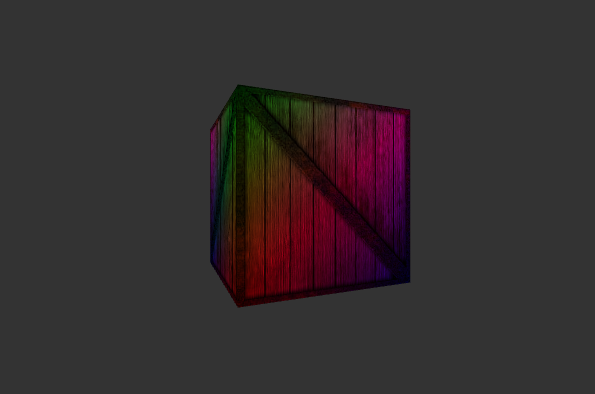
- WebGL for OpenGL ES Programmers
WebGL’s specification was heavily based on OpenGL ES’ and knowledge can be easily transferred between the two. In this post I outline the main differences and similitudes between these two standards.
Writing a Mac OS X Screensaver
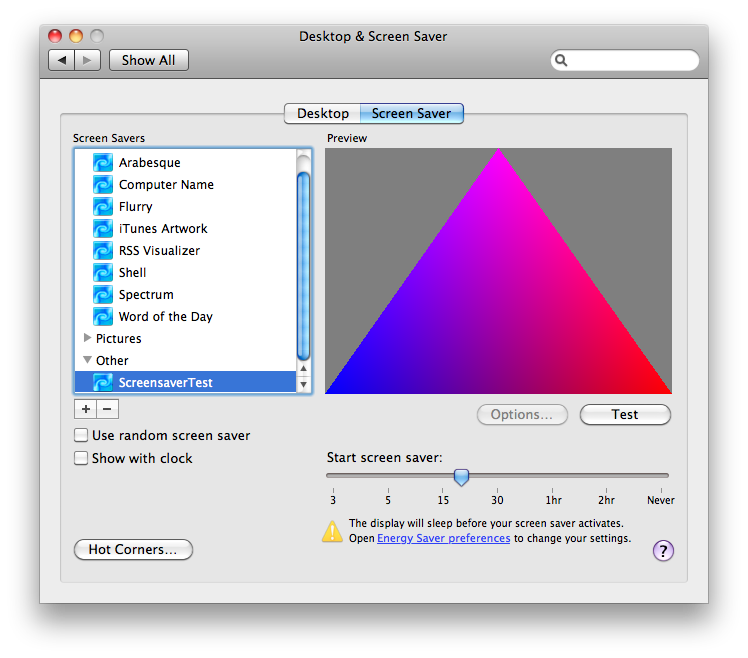
Writing a Mac OS X screensaver is surprisingly easy. A special class from the ScreenSaver framework, called ScreenSaverView, provides the callbacks we need to override in order to render our scene. All work related to packing the executable code into a system component is handled by Xcode automatically.